OnePlus 6T Screen Replacement


Step 1 - Warm Up The Glue
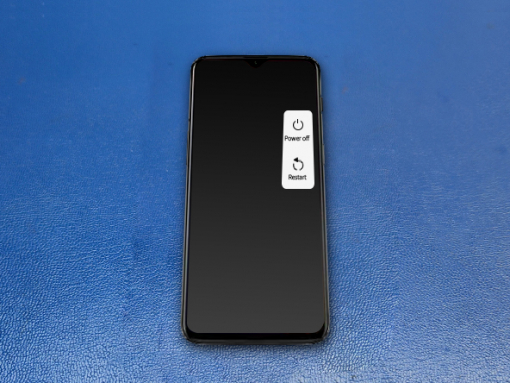
Make sure to turn off your OnePlus 6T.
We are using a hot plate machine at 90°C-100°C to loosen the glue.
You can use a heat gun or a hairdryer to heat up the back side of the phone.


Step 2 - Removing The Back Cover
Back to top
Insert the thin metal opening tool (a.k.a. the iFlex) between the metal frame and the back cover of the phone.
Start from the bottom and go all arround the edges to cut through the glue.
There ar no cables attached to the back cover but avoid inserting the iFlex tool more than 1cm.
Remove the back cover.
Tip:
If the back cover of your phone is cracked and you do not wish to replace it, stick a piece of adhesive tape over the parts where glass is broken, to avoid shattering it completely.
It will also prevent you from getting injured.


Step 3 - Disassembly
Back to top
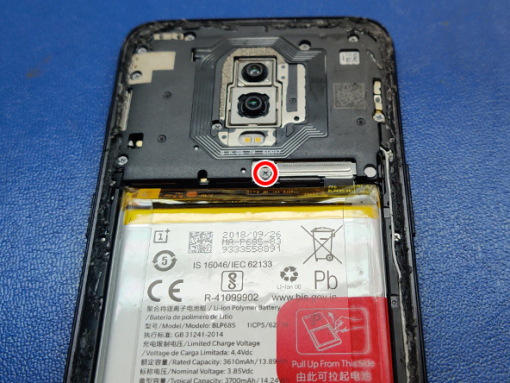
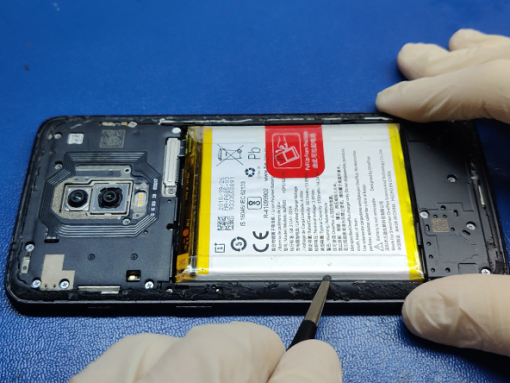
Remove the one 3mm Phillips #00 screw holding the metal bracket for the battery connector.
Remove te bracket with tweezers.
Disconnect the battery with a tip of a plastic spudger.
Remove seven 3mm Phillips #00 screws from the bottom speaker.
Use the tweezers or a spudger to pop the speaker off and remove it.
Disconnect the LCD cable connector and bend the connector uppwords.


Step 4 - Removing The Screen
Back to top
Loosen the the glue securing the display.
Phone goes screen-down on the hot plate for about 2-3 minutes at 100°C.
You can use a heat gun or a hairdryer also from the screen side of the phone.
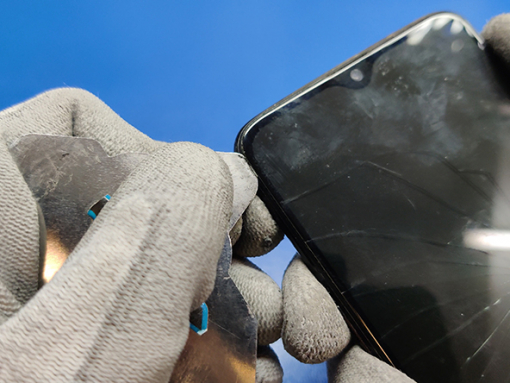
Insert the thin metal opening tool between the frame and the LCD and work yor way around.
Once yu cut throug the glue, remove the screen.
Tip 1:
You can use high concentration (>90%) isopropyl alcohol to help you disolve the glue securing the screen.
Also, use the isopropyl alcohol and a lint free cloth or a cotton swab to remove the glue residue form the phone.
This is an important step so that your new adhesive "bonds" properly.
Tip 2:
If your display glass is cracked, keep further breakage contained by taping over the glass.
Lay overlapping strips of clear packing tape over the display until the whole face is covered.


Step 5 - Installing The New Screen
Back to top
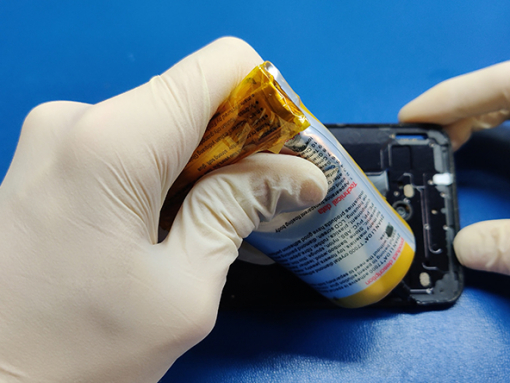
Apply T-7000 black sealent glue at the edges of the phone all around the frame.
Avoid the section where the front camera and the earpiece are.
Now, take the new LCD screen and slide the flex cable through the opening at the bottom of the phone frame.
Alligh the screen and lay it down on the phone frame.
Press gently arround the perimeter of the phone.
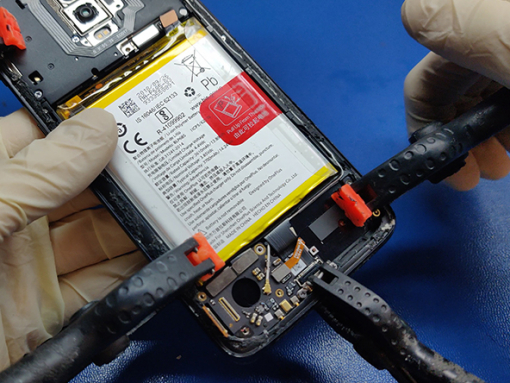
Use clamps to hold the frame and the screen toghether for about 15 minutetes.
The glue should have made a good enogh bond so you can proceed with the repair.


Step 6 - Reassembling The Phone
Back to top
Remove the clamps and turn the phone screen down on the table.
Connect the LCD flex cable connector.
Install the bottom speaker assembly.
Secure the speaker with the seven 3mm Phillips #00 screws you've previously removed.
Reconnect the battery.
Insert the mettal bracket over the battery connector and secure it with a signle 3mm Phillips #00 screw.
Turn on the OnePlus 6T and thest the repaired device.


Step 7 - Installing The Back Cover
Back to top
Clean the old glue residue from the back of the phone.
Apply a thing strand of T-7000 glue all around the edges of the phone.
Lay down the back cover on the back of the phone.
Gently press with your fingers all around the perimeter of the phone.
Apply clamps and keep them on your phone for about 20 minutes.
If needed, carefully clean your phone from glue that might have spilled out during the reassembly.
And the repair is done.


