

iPad 4 Wi-Fi Camera Bracket Replacement

Send this link via e-mail
|
Tweet |
|


Step 1 - Front Panel Assembly (2)
If there's a piece of electrical tape covering the Wi-Fi antenna, speaker cable and the home button ribbon cable, remove it.


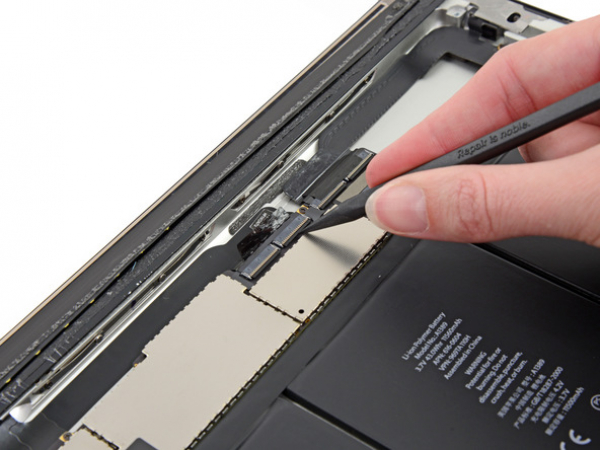
Step 3
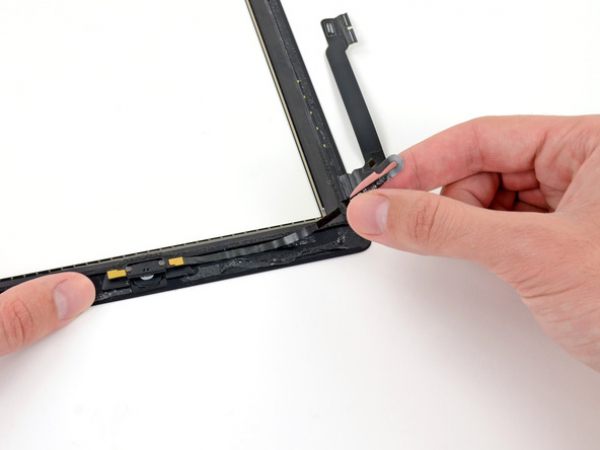
Pull the home button ribbon cable out of its socket on the logic board. Do this with a pair of tweezers.

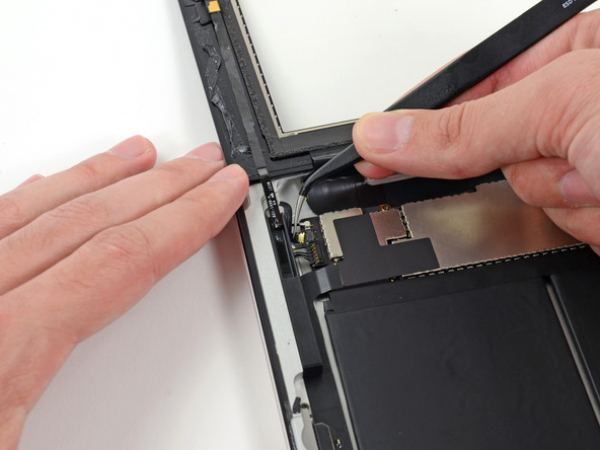
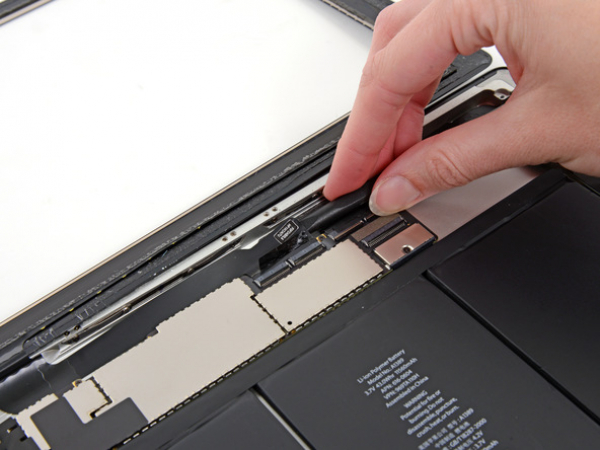
Step 5
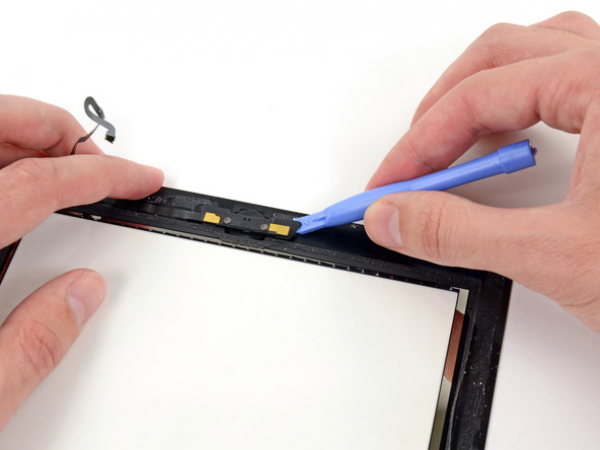
A piece of tape is securing the digitizer ribbon cable to the logic board. Peel it back with a pair of tweezers.


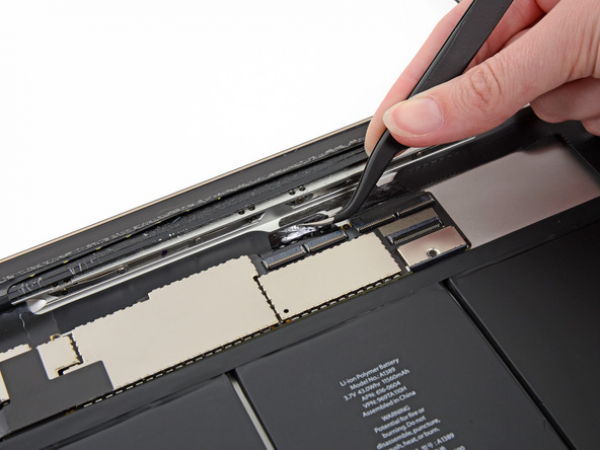
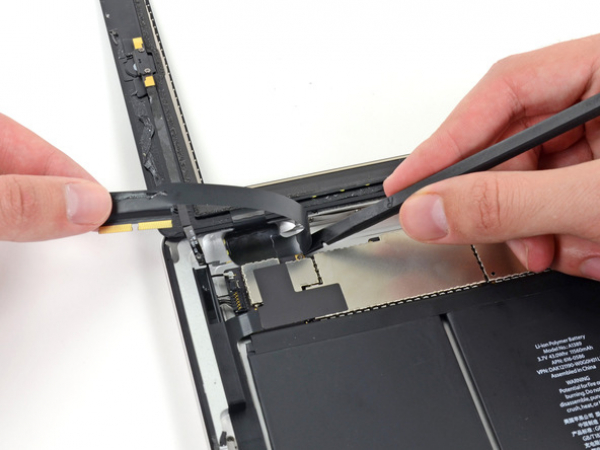
Step 7
Loosen the adhesive under the digitizer ribbon cable with the flat end of a spudger.
Take out the digitizer ribbon cable out of its sockets on the logic board.


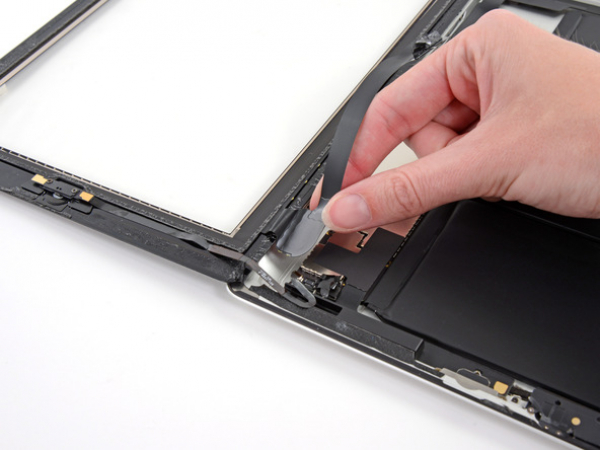
Step 8
Peel back the digitizer ribbon cable. Separate the cable from the adhesive securing it to the rear aluminum case with the flat end of a spudger.
Step 9
Take the digitizer ribbon cable out of its niche in the aluminum frame. Do this with your fingers.
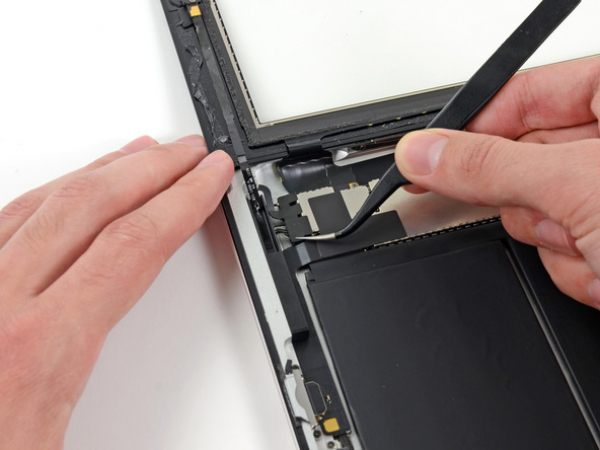
Separate the front panel from the iPad.
Step 10 - Home Button Assembly
Back to top
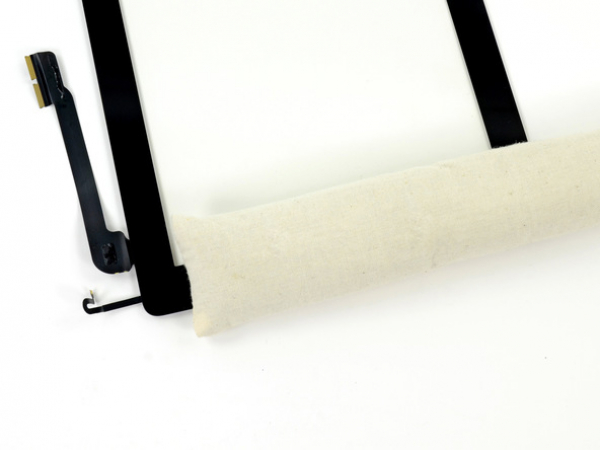
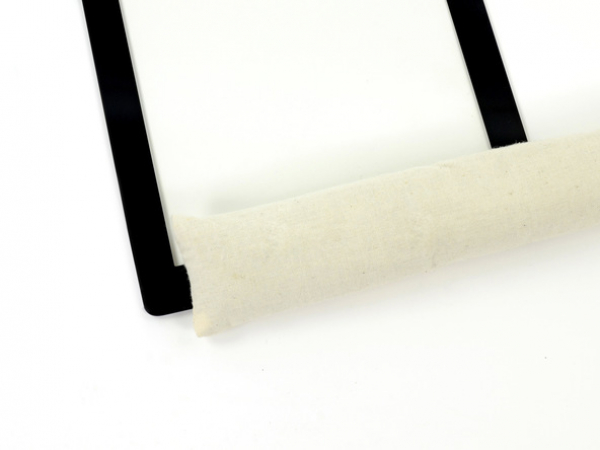
Some adhesive is holding the home button assembly and the front panel together. The best solution is to use the iOpener to soften the adhesive.
Microwave the iOpener for one minute only on the highest power setting.
Do not overheat the iOpener and wait for at least two minutes before reaheating it.
Put the iOpener on the home button on the front edge of the display.


Step 12
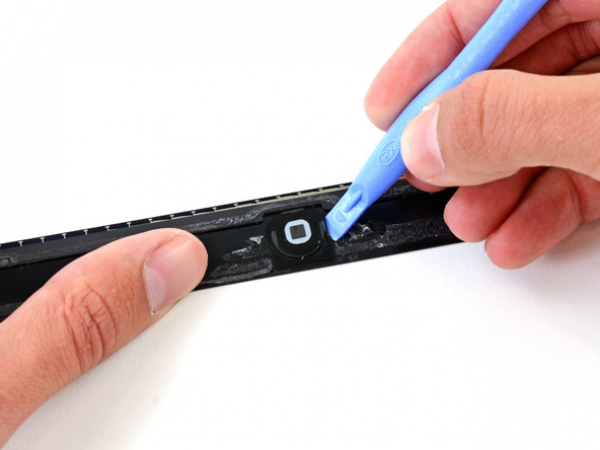
Insert the plastic opening tool underneath the right side of the home button assembly and push it upwards in order to release the adhesive there.
Do the same thing for the left side of the home button assembly.
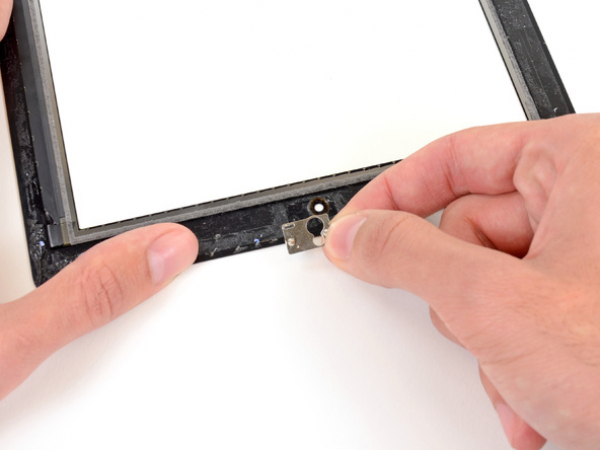
Separate the home button mount from the front panel.


Step 13
Push the edge of the plastic opening tool under the edge of the home button mounting bracket.
Move the plastic opening tool along the retaining spring bracket to release the adhesive.
Take the home button with mounting bracket off the front panel.
Step 14 - Camera Bracket
Back to top
Some adhesive is holding the camera bracket and the front panel together. The best solution is to use the iOpener to soften the adhesive.
Microwave the iOpener for one minute only on the highest power setting.
Do not overheat the iOpener and wait for at least two minutes before reaheating it.
Put the iOpener on the front facing camera on the front edge of the top of the display.